Qorkzgiving Turkey
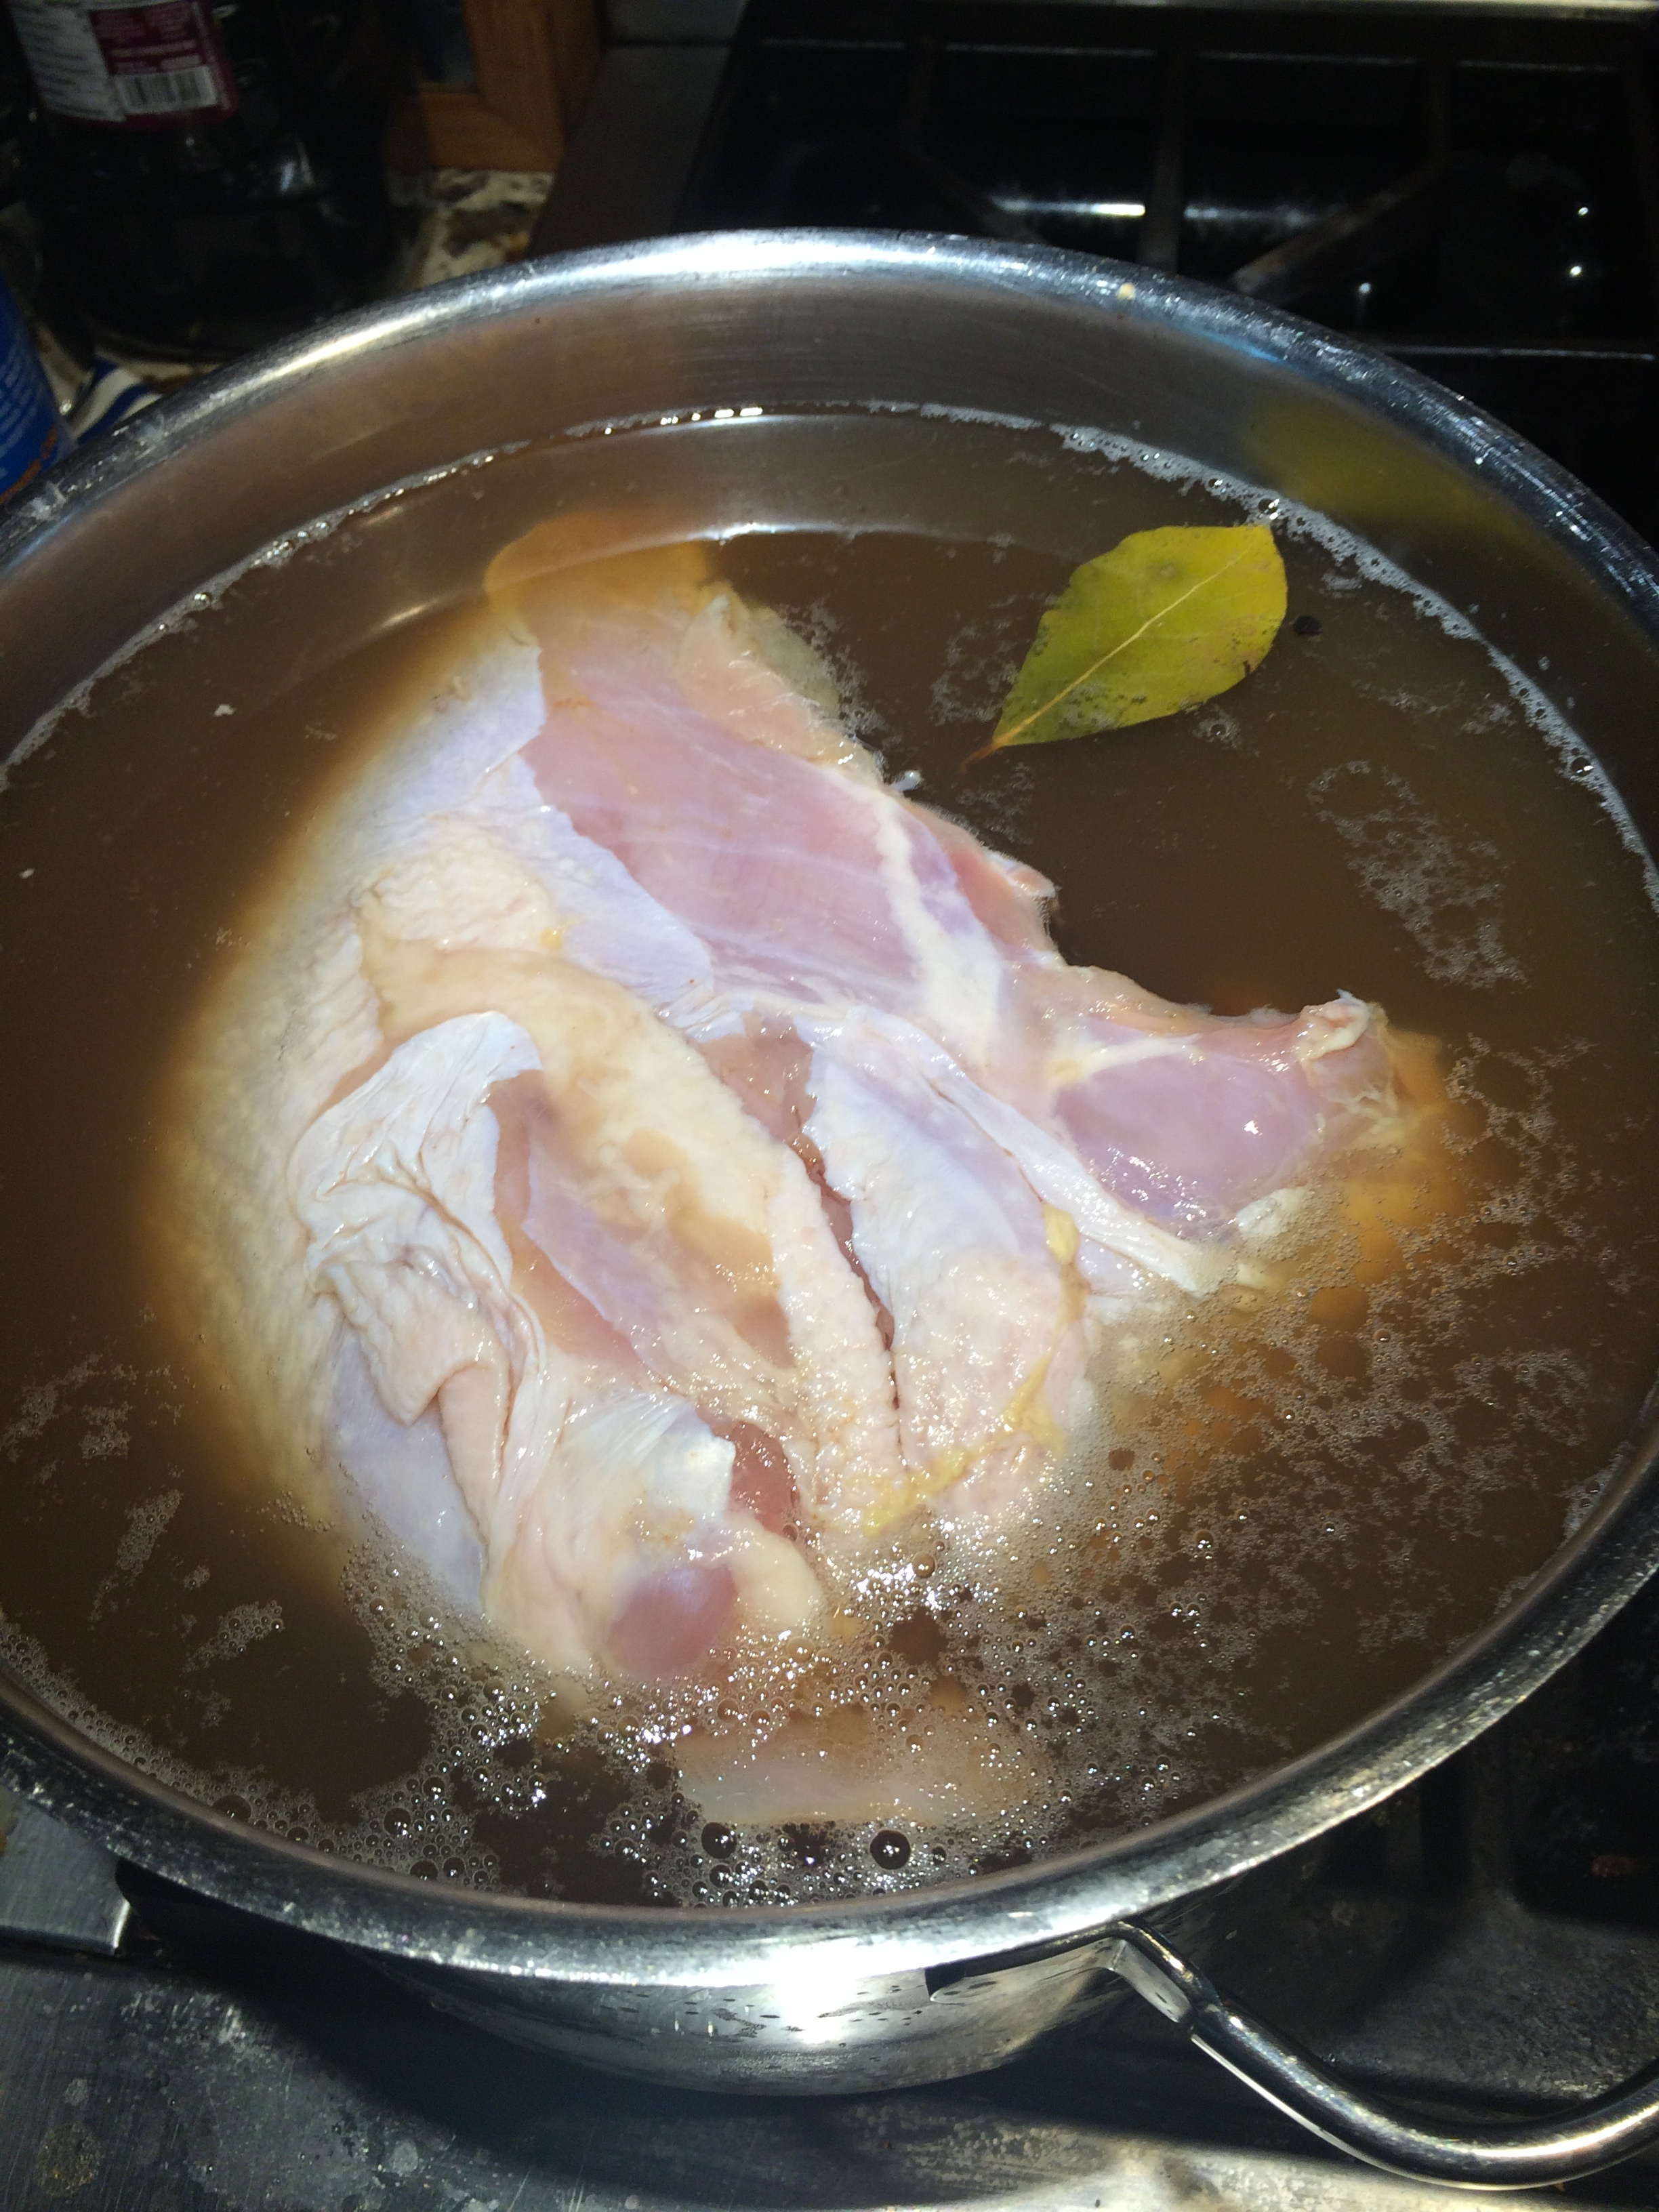
/Photo of brined Qorkzgiving Turkey by Gretchen Miller Neuman for Qorkz.
The turkey is the centerpiece to the feast. You know that, I know that. Peppermint Patty from a Charlie Brown Thanksgiving knew that. But how should you cook your bird? We at Qorkz have tried almost all of the modern methods. We have deep fried, roasted, injecteddeboned and basted turkeys for almost two decades… and yes.. that’sa lot of fowl. We have tried almost everything to keep our turkey moist. Then we found brining. When you brine, you create a chemical reaction that pulls water out of the meat then sucks in flavor. So the key is to make your brine as flavorful as possible. I like to use apple cider because it is a seasonal flavor and stout provides a sugar that coats the skin and makes the turkey roast with a nice browned color.
Qorkzgiving Turkey
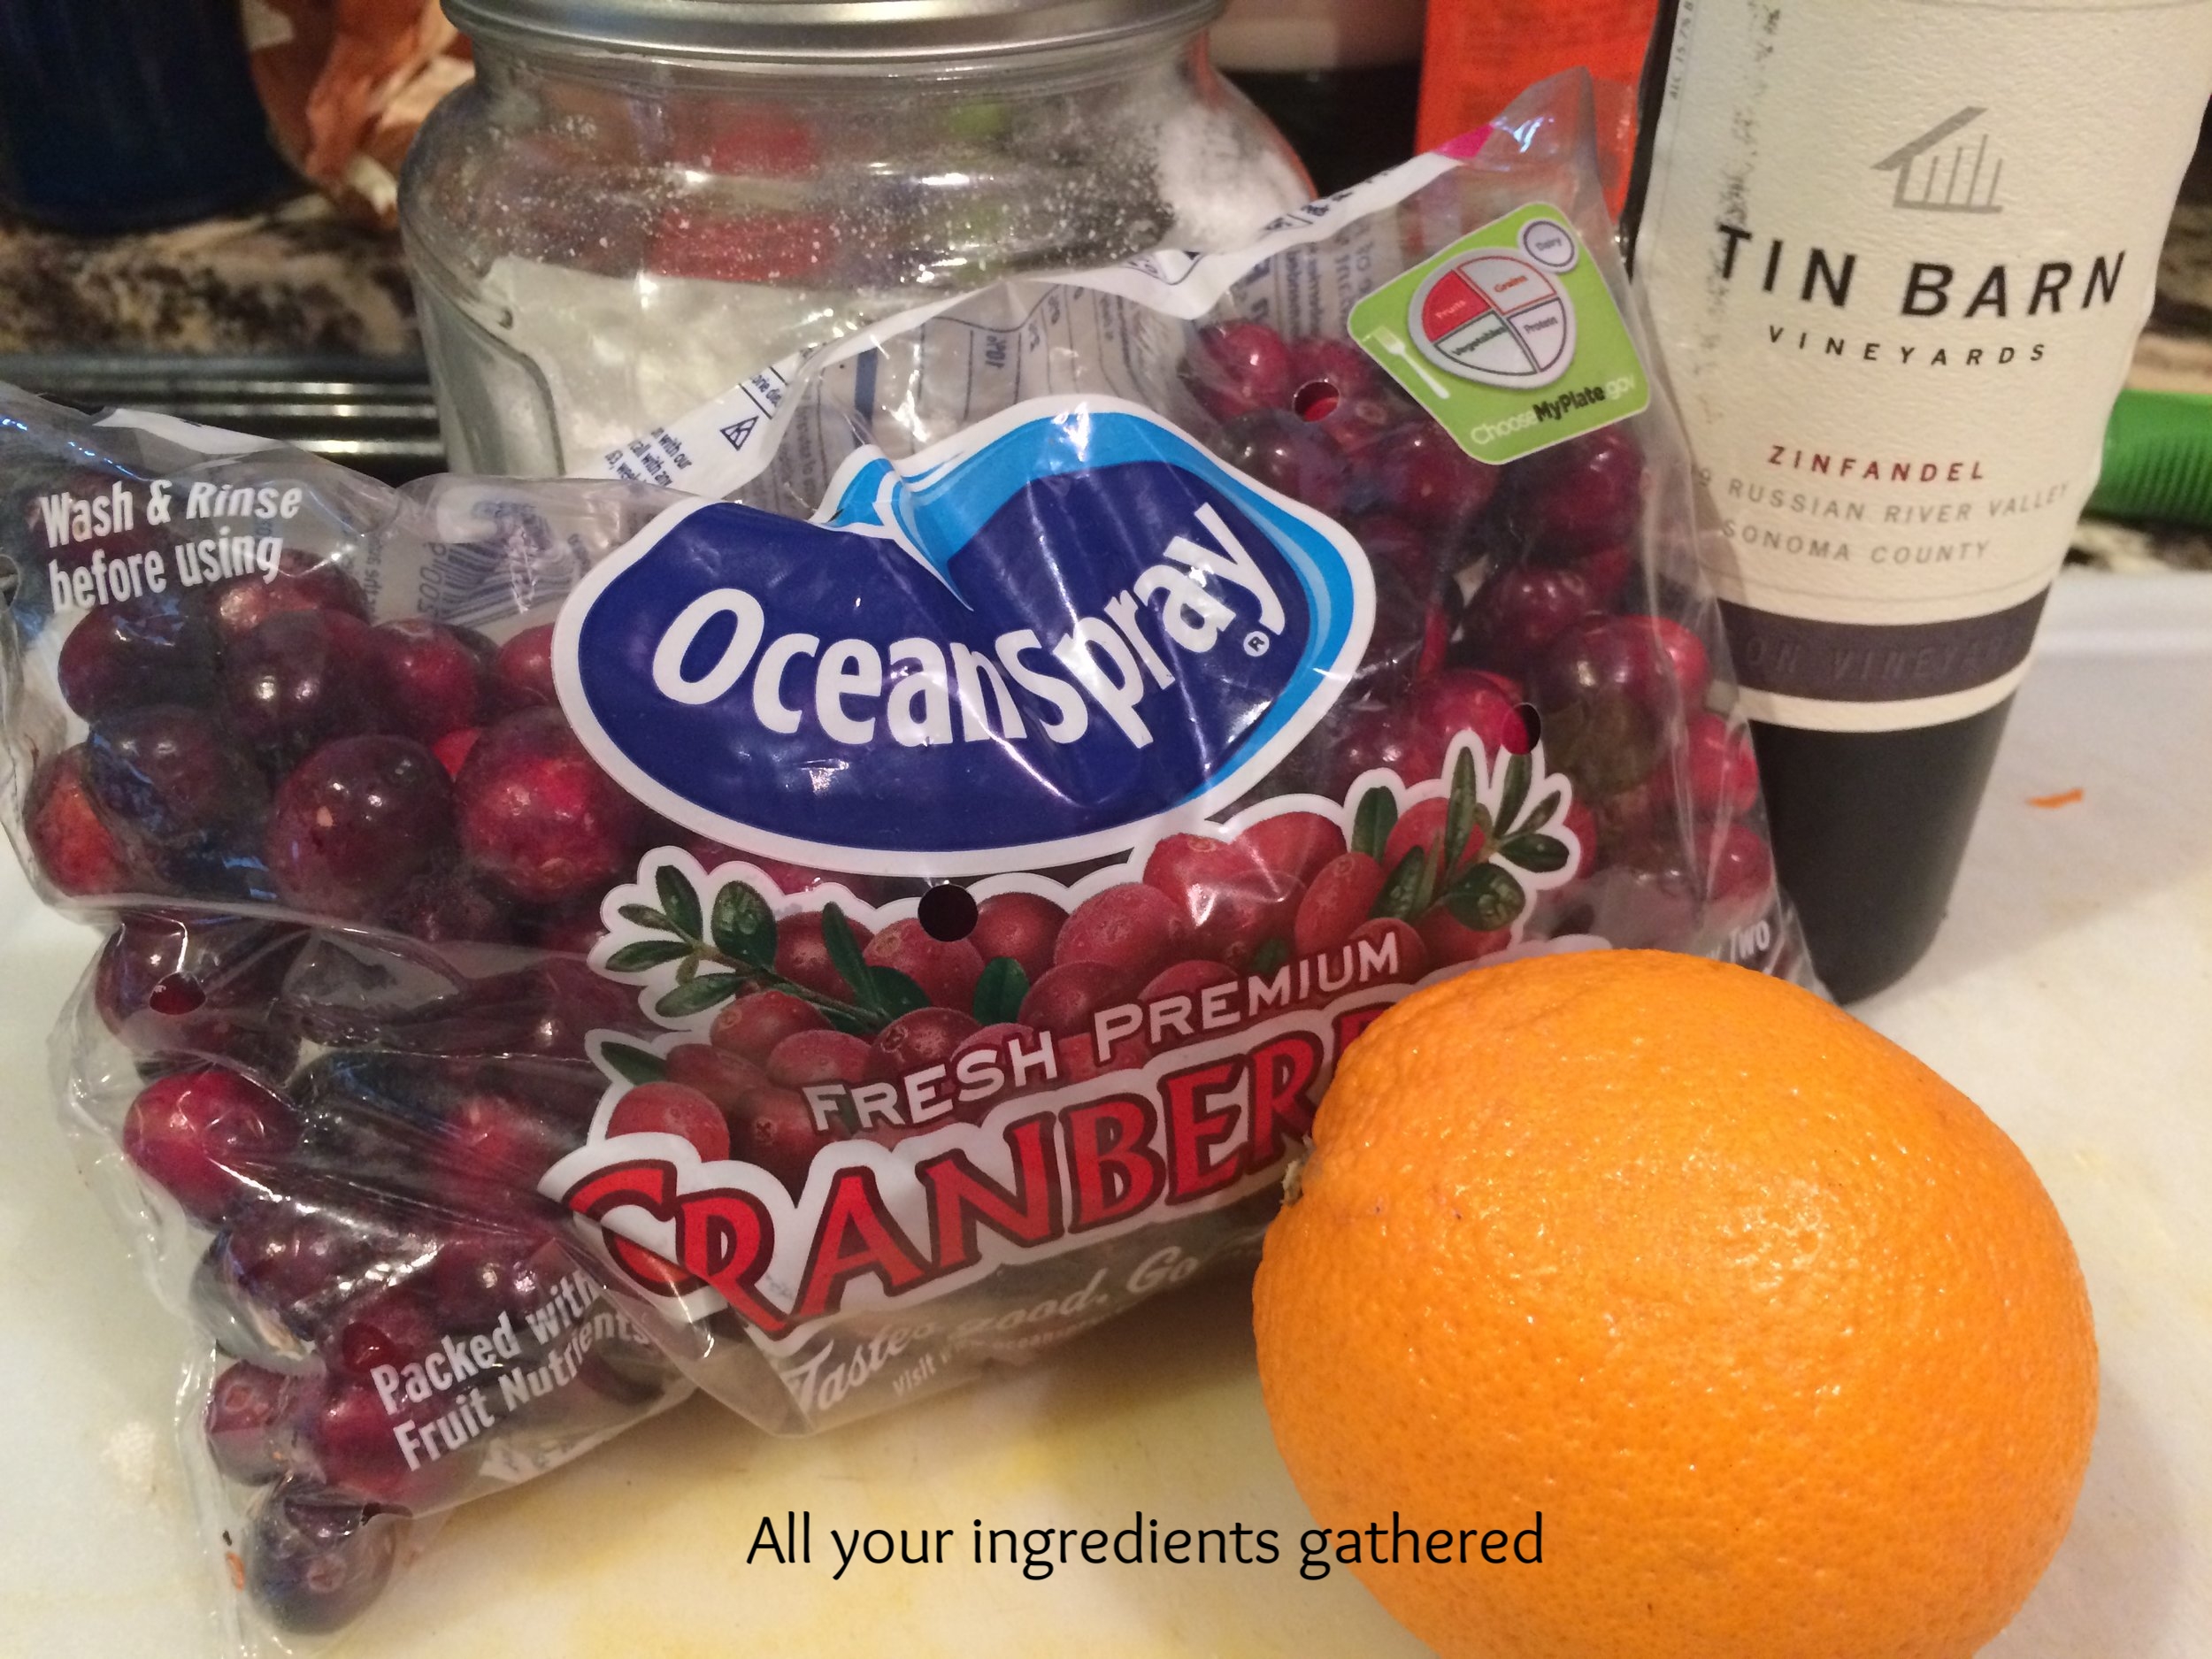
- Turkey
- Butter
- Brine
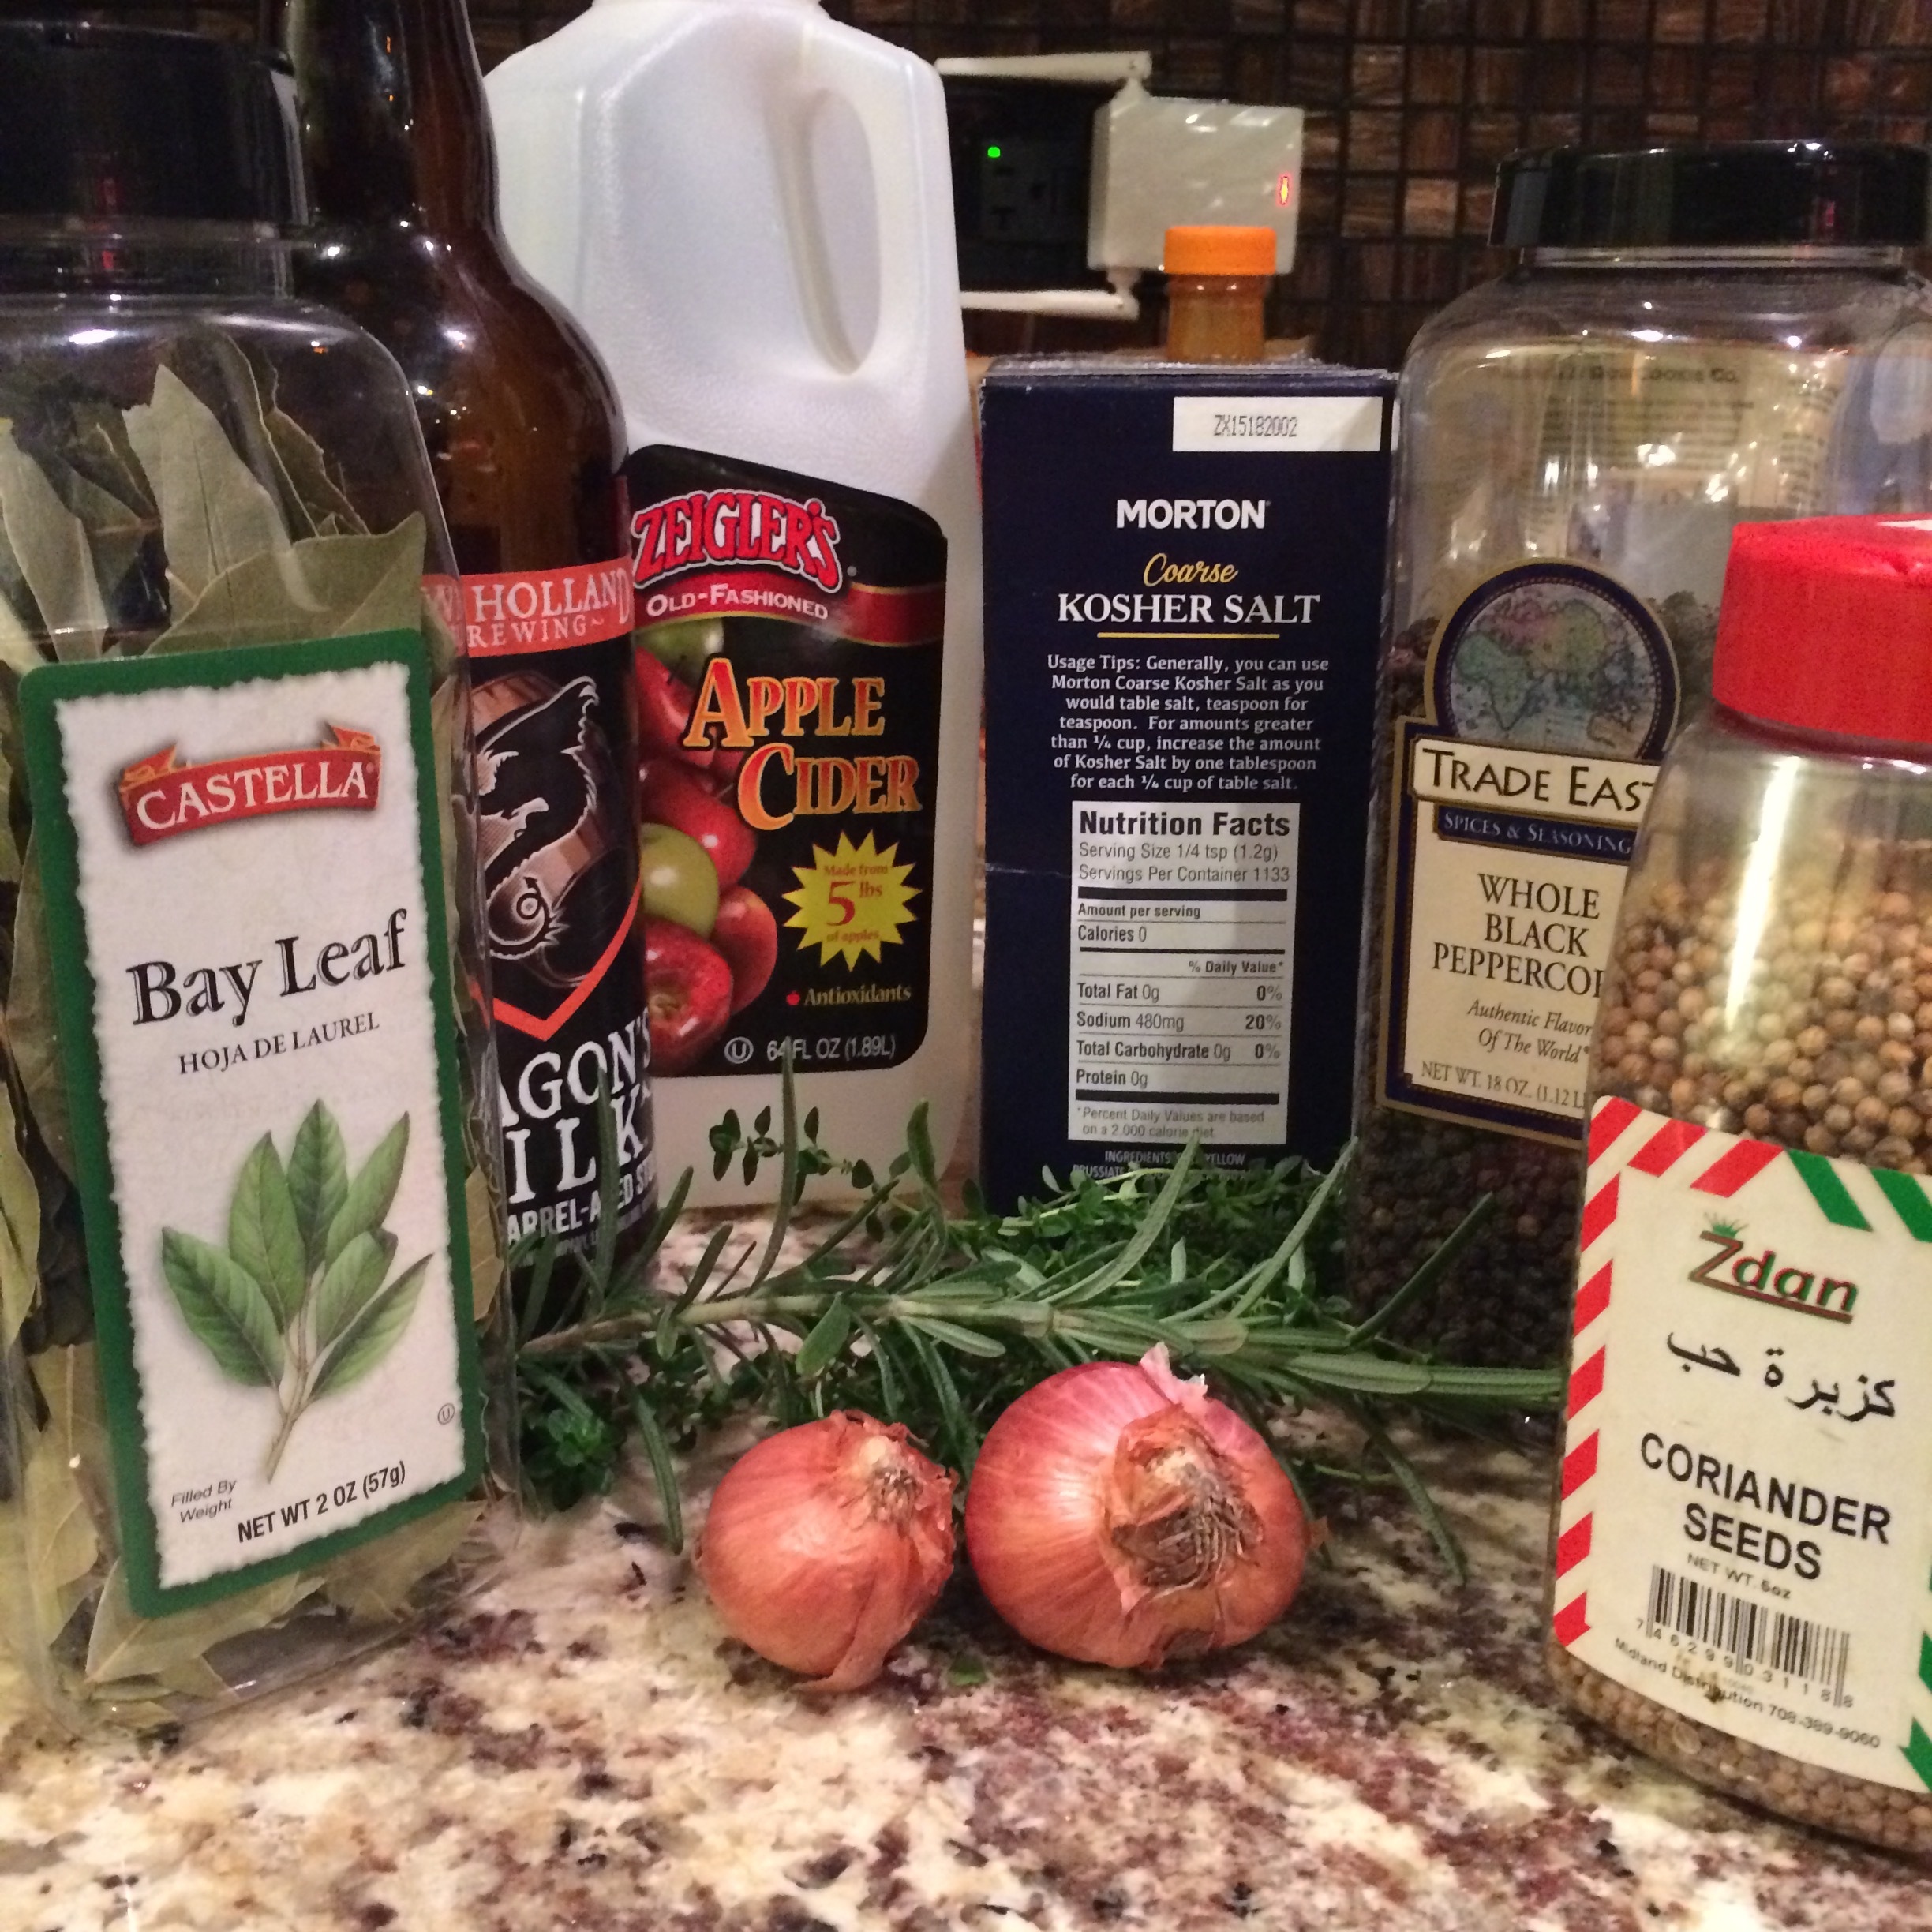
Turkey brine:
- 1/2 Gallon of apple cider
- 2 cups Dragons Milk Stout
- 1/2 C of Kosher salt
- 1Tablespoon Coriander seed
- 10 black peppercorns
- 2 small or 1 large shallot whole
- 3 bay leaves
- A sprig of fresh rosemary (my piece was about 6 inches)
- several sprigs of fresh thyme
- 2 Quarts of ice or more.
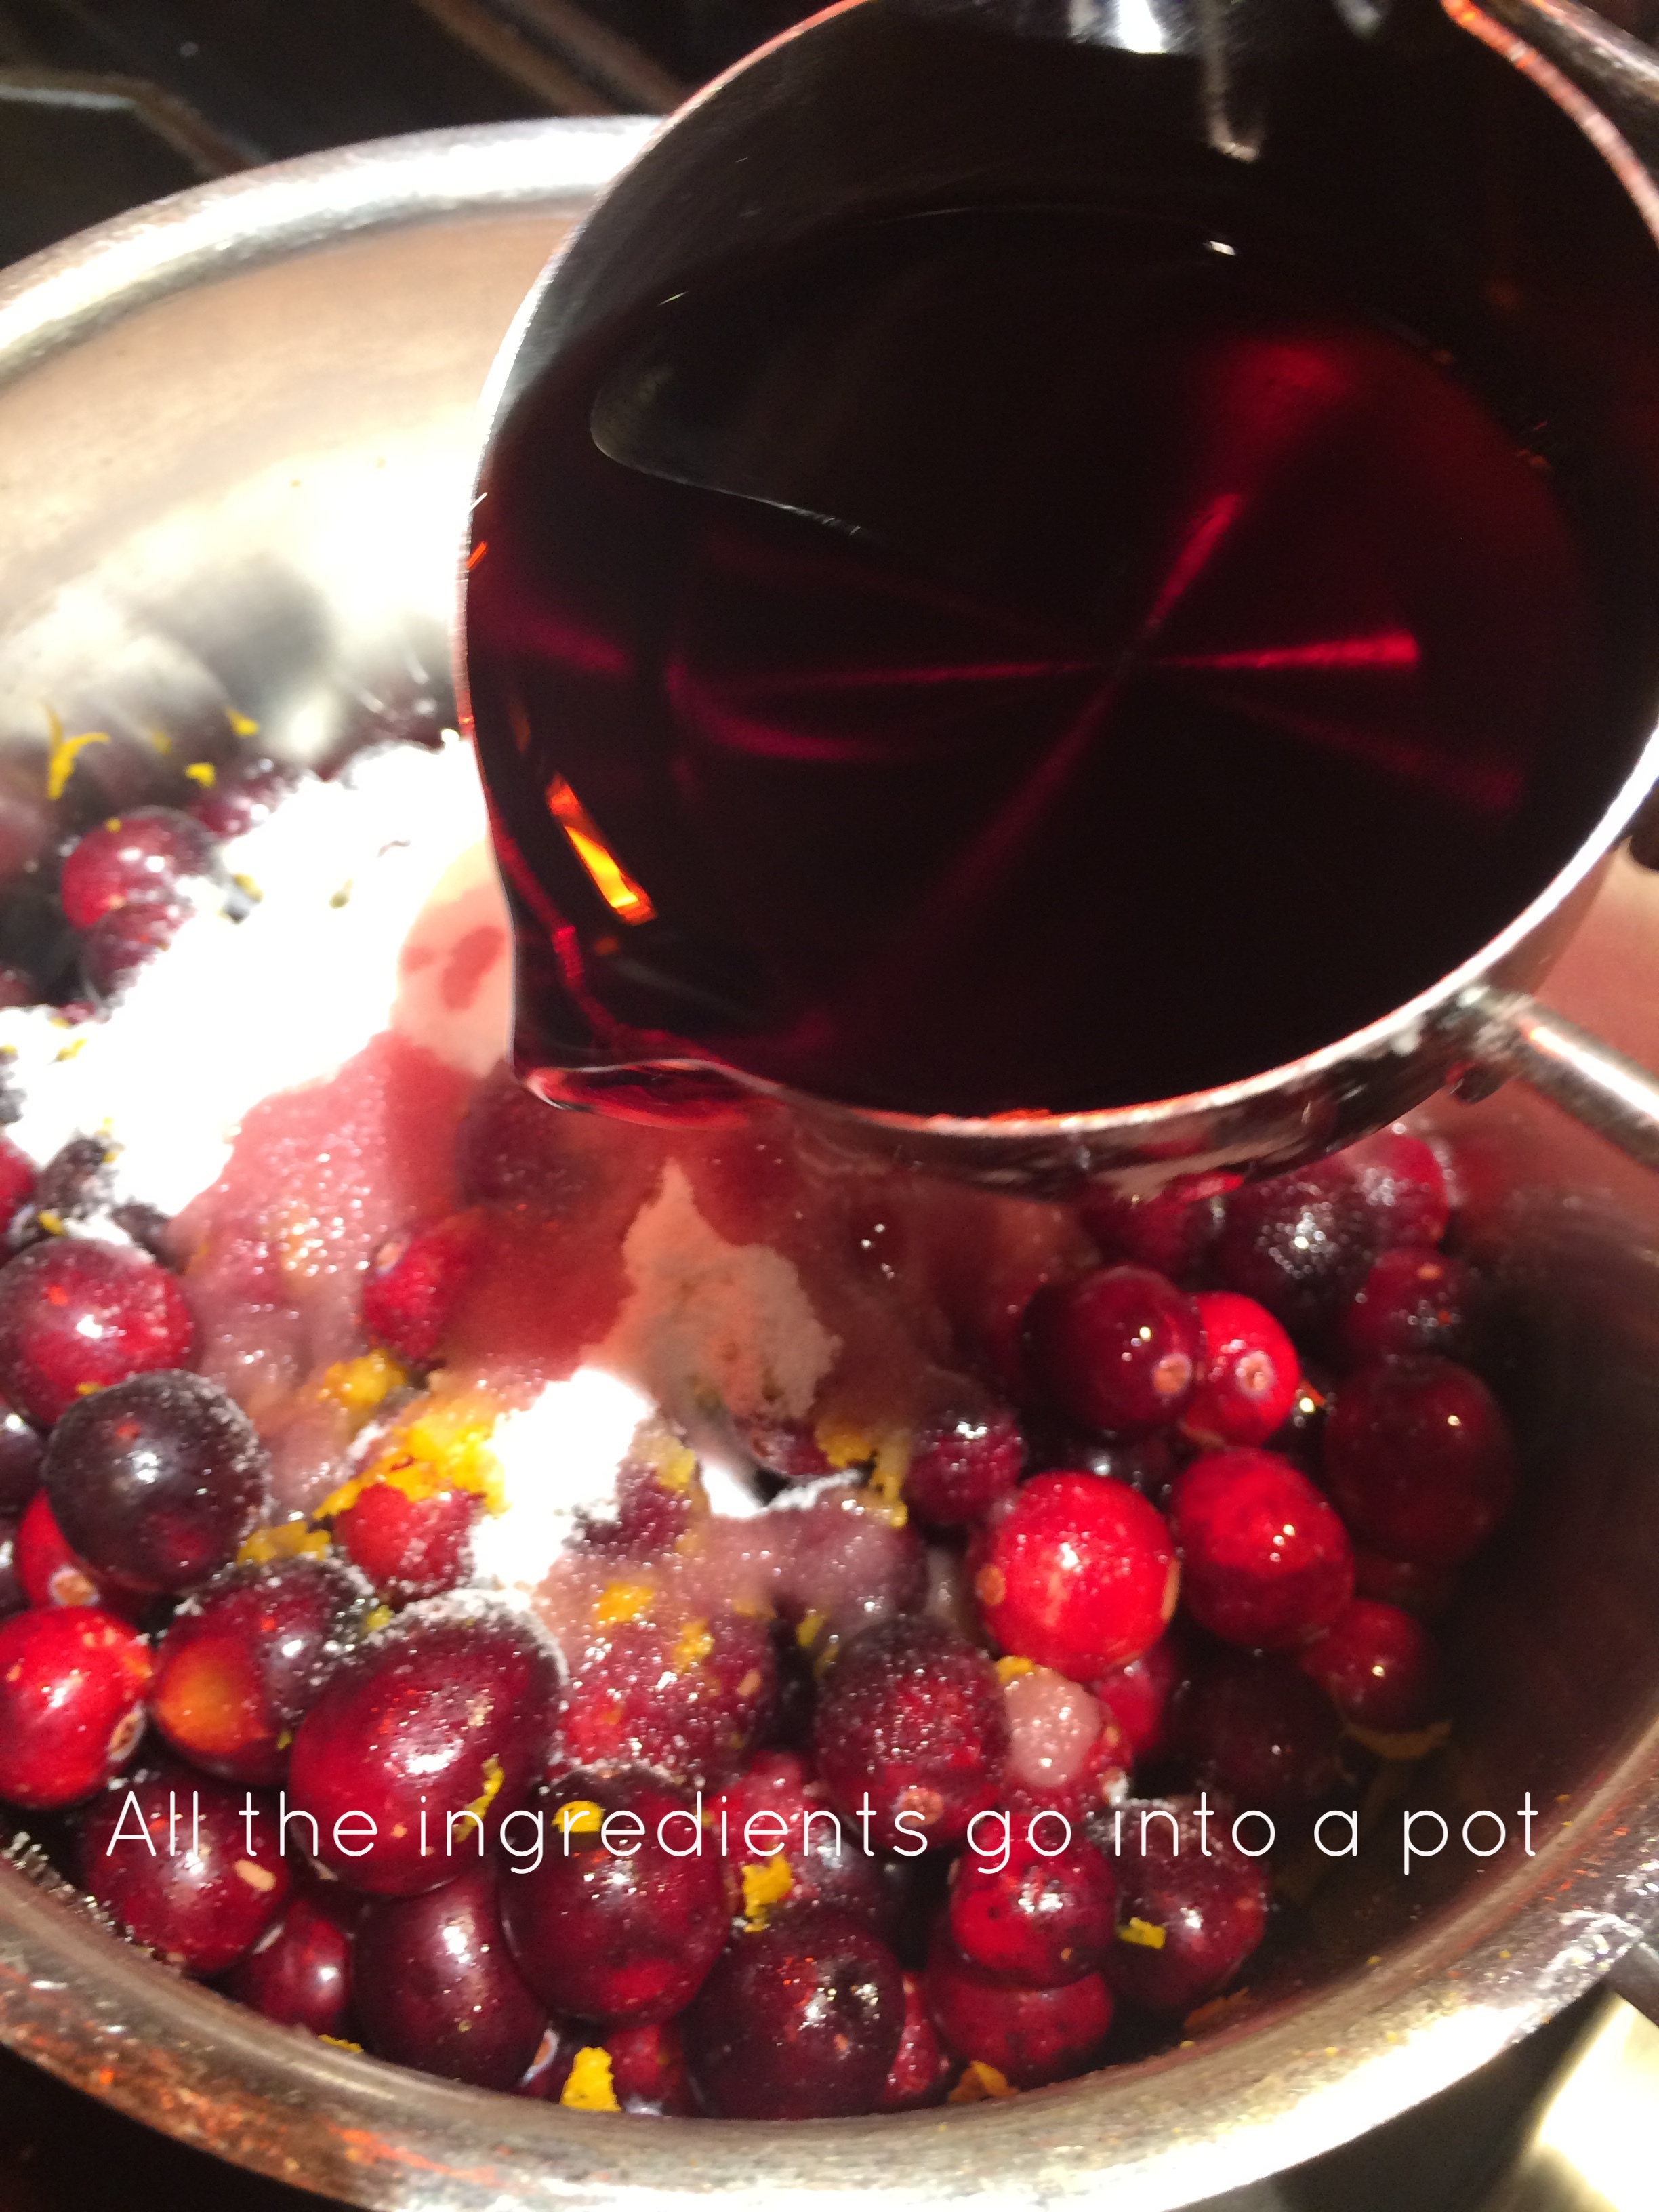
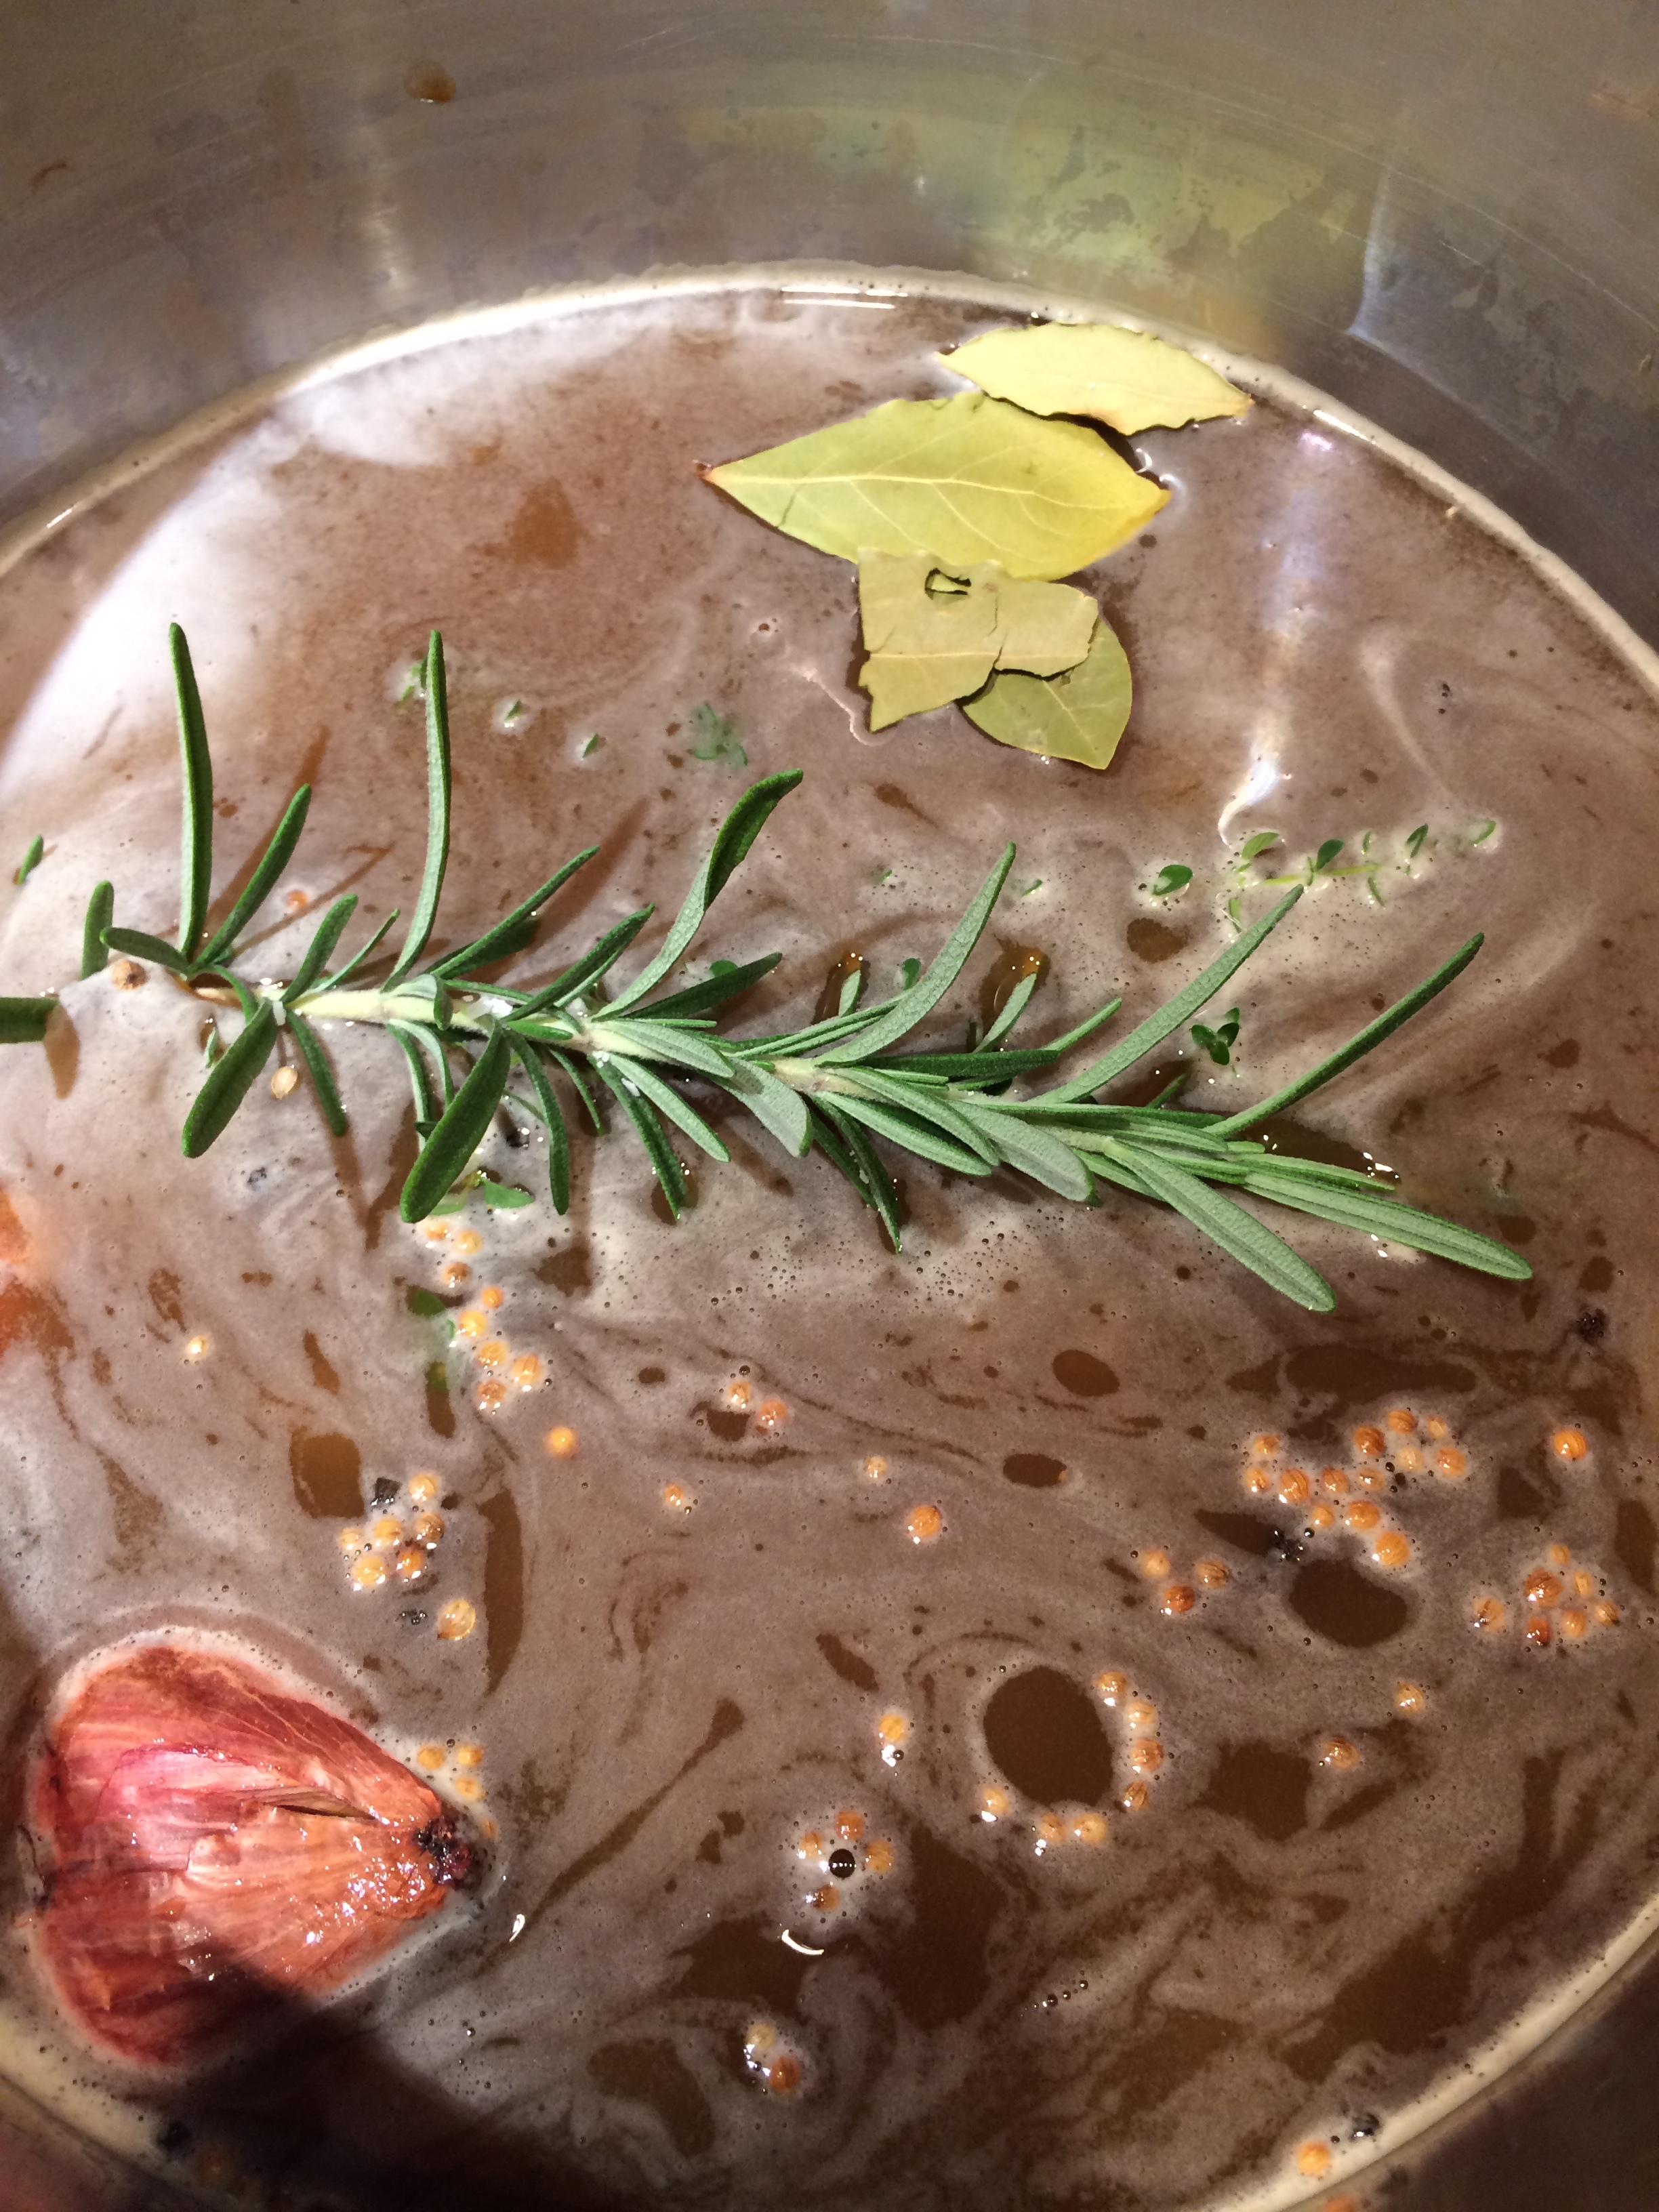
Put first nine ingredients in a pot, stirring occasionally. Bring to boil. Turn off an add ice. Bring to room temperature. Again, stirring periodically. When at room temperature add turkey. Put in fridge for up to 24 hours. I used stout in this brine instead of a sherry because the malt will add color to the bird later on. Though I guess a cream sherry or Marsala would do the trick as well. I like to mix it up occasionally.
After brining turkey for up to 24 hours, remove the bird from the savory liquid. Rinse the bird under running water and pat dry. Place on rack on a baking sheet (or roasting pan) and rub with softened butter. Roast in an pre-heated 350 degree oven for twenty minutes per pound. Baste periodically. Cook until an internal temperature of 165. Remove the turkey from the oven and rest for 30 minutes. Also, I abide by the Alton Brown theory that stuffing = death. If your bird is moist then your stuffing is undercooked infecting your nearest and dearest with any number deadly bacteria. Don’t do that. Cook that stuff in a separate pan covered in tin foil to give that slightly steamed quality without salmonella and that would make your fowl foul.
Wine Pairing: During prep? Have a beer. It is said that it takes a lot of bad beer to make a good wine... I think that is equivalent for a turkey.
At the Feast: An unoaked Chardonnay for a full fruit flavor or a cool climate Pinot Noir.